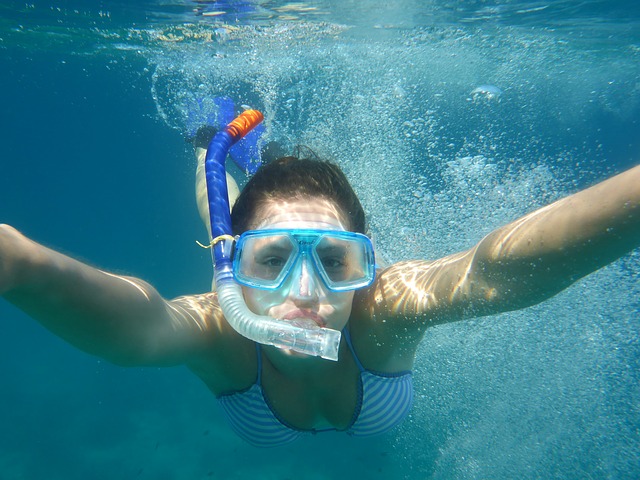
Diving is quite an experience, and it makes sense that you want to capture it forever on a picture, but taking a decent pic is already difficult on land, can you imagine what it must be like to take under the ocean?
It’s impossible though! There are plenty of people that already dedicate themselves to photograph all the beautiful sea creatures and hidden places they find on their diving expeditions, and if you want to follow their example, then you have come to the right place because I have plenty of advice for you to become an excellent underwater photographer.
Utilize a strobe
This is not always necessary for taking a good pic, but strobes can make a huge difference in your underwater photos. They help to add more light to the scene you’re capturing, which brings out the real colors and lessens the green and blue wavelengths that can take over most underwater images. A strobe also aids in freezing motion and provoke higher shutter speeds from your camera, which is vital if you want to take a picture of a particularly flappable marine creature.
Learn how to handle shutter speed
Setting shutter speed on a camera is always a tricky issue, especially in underwater photography. If you set the shutter to a slower speed, you’ll get more light but your focuses will be blurry, and setting it to a higher speed will freeze motion and capture detail, but you won’t get enough light and instead it will leave you with a dark background that possibly won’t look all that good on the photo. See the conflict there? The trick is to use a high ISO setting, a potent strobe and a medium shutter speed that will catch abundant ambient light without clouding the main focus.
Stay in shallower water
For starters keep yourself, and your camera, in the shallower waters where the sunlight still penetrates the entire water column, this leads to having more vibrant colors to work with.
Also, in case you do not own a strobe, superficial waters are the best place to start practicing composition and playing with your camera’s settings to get better results.
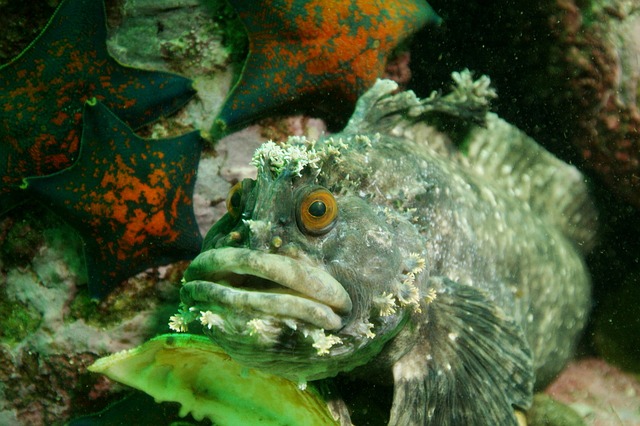
Approach to your focus
I know the ones you’ll probably try to capture on your pictures are the fishes, and they tend to be a little evasive but try to get as close to them as your camera lens – and the fishes, obviously – allows you. Staying too far away from whatever you’re trying to photograph will only bring more green and blue wavelengths to your image and ruin it.
Use a color correcting filter
Color correcting filters are the life-savers of many photographers, probably more when it is underwater photography the one we are talking about. They correct the color equilibrium by decreasing the cyan in your pictures, and can also be beneficial in minimizing backscatter. It is vital to remember to raise your camera’s exposure by 1 to 1.5 stops to pay off for the filter’s density.
The filter is of no use at depths below 30 feet, like red, orange, and yellow wavelengths all fade away.
Steady hands
The secret to all sharp photos are firm hands and no camera waving, the only way to accomplish this underwater is to remain categorically still and float using breathing techniques. You can’t use coral to steady yourself down there, you have to solve things out by yourself.
Minimalize backscatter
One of the most infuriating issues underwater photographers deal with in their images is backscatter – the mirror image of suspended particles that concentrate on the image as a bright white or colored spot. It’s annoying! But it can be minimalized by via a strobe arm and pointing the tip down so that the particles will not be well-lit in front of the lens.
Use a good editing software
Using a good image editing software, with good filters, good color correction, and that allows you to eliminate little flaws for your image to become as high-quality as possible. Technology is your friend on this one!